
 Heart rate monitoring is a standard feature for wrist-worn devices today, but this first came to Fitbit’s product line with the ChargeHR in 2016. I’ve had mine for over two years now, and time hasn’t been kind to it. The strap’s bubbled up and the plastic’s degraded and cracked. The electronics still work fine but the ChargeHR was designed as an integrated unit and there isn’t an easy way of replacing the strap….at least not officially. Fortunately, third parties offer replacements for not very much money. I purchased a metal one with a Milanese bracelet for GB£10 via a seller on Amazon and I’m really pleased with the outcome. Here’s how to replace the strap on a Fitbit ChargeHR. Warning – this procedure is carried at your own risk.
Having learned from my experience, my first suggestion would be cut away the strap about an inch above and below the central electronics. It’s much easier to do the repair without the broken strap flapping around. Get the replacement kit out – there should be the case+strap, a tiny screwdriver, replacement screws and a spudger.
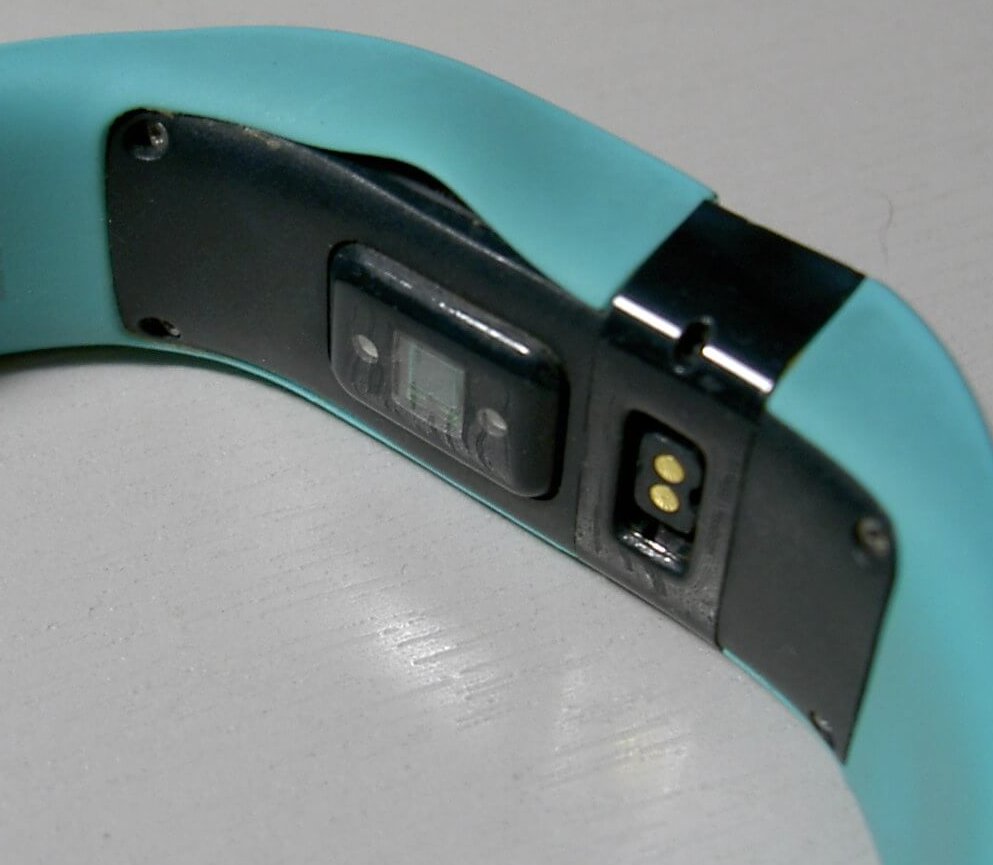 Next, turn the ChargeHR so that the display is downwards and you are looking at the back with the charge port and the pulse sensor. Look for four small screws in the corners of the unit. Use the supplier screwdriver to carefully undo all four screws and remove them from the ChargeHR. Put the screws to one side but you’re probably not going to be using them again.
The electronics unit is held in the case by a couple of plastic clips on each side. Use the spudger to push down the left and right sides between the unit and the case. It’s quite fiddly just to get the spudger in the slot.
 At this point the electronics unit will come free and can be taken out of the old case. Left behind is a small NFC-style sticker which needs to be peeled off and stuck inside the new case. You’ll need fingernails to do this, but once you’ve unpeeled, it simply stick it into the new case in the same position and orientation. Here you can see the sticker in the new case. Try and line it up just below the screen.
Once the stickers in place, give the inside of the new case a quick clean, getting dust and smudges off the inside of the display window. Now just push the ChargeHR electronics into the case. It should clip-in positively.
 Finally, put the screws back in and use the screwdriver to tighten them up. Use the new screws that came with the replacement kit.
And that’s it. Press the side button and toggle through the display elements, checking that everything still works. I replaced mine about two weeks ago now and I’ve had no issues. Syncing still works fine, though the vibrating alarms are a bit more rattly. I suspect that’s more to do with the metal case than anything else.
If you want to see more, then I’ve a complementary video on YouTube.