
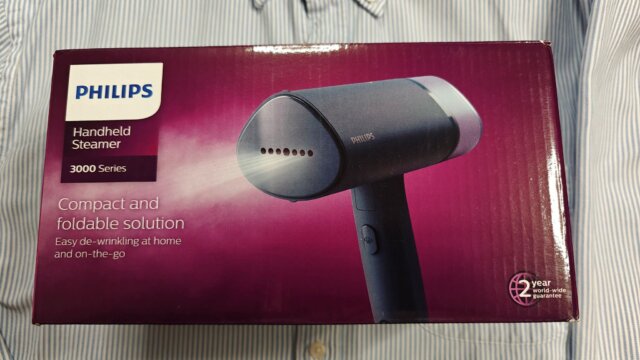


As you’ll see from the pictures, there’s nothing particular fancy here. There’s a folding handle below the main body with a detachable water reservoir on one end and steam jets on the other. The handle incorporates a sliding on/off switch at the bottom with a trigger higher up to produce steam. It’s very easy to operate – fill the reservoir with water, click it on the back, turn on the steamer, wait about 30s for the light on top to go out and then pull the trigger. Steam comes out after a wee gurgle. Easy-peasy. Although I don’t think the weight will bother anyone, the steamer has a bit of heft to it at a little under a kilogram once the water is added.

In practise, the steamer works and it works pretty well. Pull the trigger and gently move the steamer over the clothes to let the steam do its stuff and release those wrinkles. It’s fairly quick too, and with a bit of practice you begin to develop a technique so that you’re not going over the same area multiple times and you know how to tense the fabric to help pull it flat. If you are worried about scalding your fingers, don’t be as the steam gets absorbed by the fabric so it never really escapes. Clearly you can scald your fingers if you try hard enough but steam safely and it’s fine.

Obviously the big question is whether it’s faster than ironing….yes and no. It’s definitely faster for shirts because much of the time is taken up with undoing and doing up the buttons. With the steamer you can simply take the drying shirt and steam it on the hangar. For something like a t-shirt that has no buttons and you are likely to fold at the end, I think I’d stick with the traditional iron. Overall, I’m going to continue to use the Philips steamer and if it sticks for the long term, I might look to upgrade.
There’s more in my video below.
